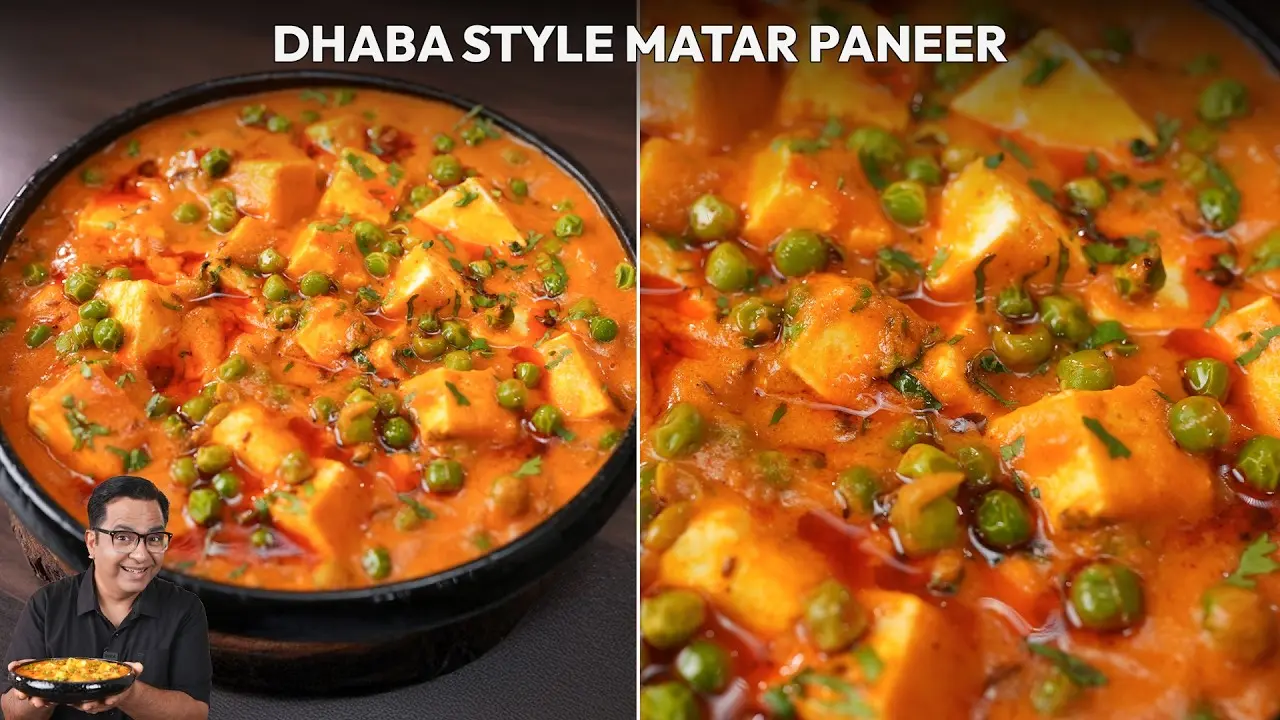
Dhaba Style Matar Paneer Recipe

60 Mins

6-7 People

10 Mins
Introduction to Dhaba Style Matar Paneer
I still remember the time when many people kept asking me for just one thing – a proper Dhaba Style Matar Paneer. Not fancy, not restaurant-style, but the same kind of matar paneer you eat at a highway dhaba in winter. When I finally decided to make it, it was winter season, peas were about to arrive, and that feeling itself set the mood for this Dhaba Style Matar Paneer.
While shooting this recipe, I did not even have fresh sweet peas, so I used packet peas. But the method stayed exactly the same. Tomato boiling on one side, onion frying on the other, and that typical dhaba-style ginger, garlic, green chilli paste. This is how real Dhaba Style Matar Paneer is prepared, without shortcuts.
Ingredients of Dhaba Style Matar Paneer
Portion / Servings: 6–7 pax
Preparation Time: 10 minutes
Cooking Time: 60 minutes
For Boiling Tomatoes
- Tomato – 6–7 pcs
- Water – for boiling
For Shallow Frying Onions
- Oil – 3 tbsp
- Onion (roughly sliced) – 3 pcs
For Making Base Paste
- Boiled tomatoes
- Shallow fried onions
- Soaked cashew – 2 tbsp
- Water – as required
For Making Matar Paneer
- Oil – 2 tbsp
- Jeera – 1 tsp
- Ginger garlic & green chilli paste – 1 tbsp
- Khoya (grated) – 1 tbsp
- Water – as required
- Onion & tomato paste
- Turmeric powder – ½ tsp
- Red chilli powder – 1 tsp
- Kitchen king masala – 1 tsp
- Hing – ¼ tsp
- Garam masala – ½ tsp
- Kasoori methi – 1 tbsp
- Salt – 1 tsp
- Green peas / Matar – 1 cup
- Butter – 2 tbsp
- Paneer cubes – 200 gms
Instructions of Dhaba Style Matar Paneer
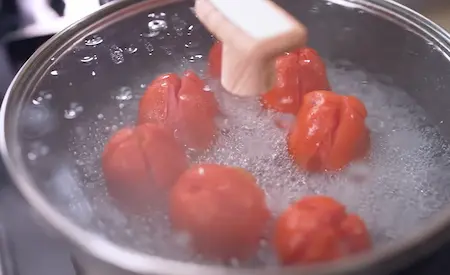
Step 1: Boil the Tomatoes
Begin by placing whole tomatoes in a pot of boiling water. Let them cook until the skins loosen and the tomatoes soften completely. This usually takes a few minutes of simmering. Once boiled, remove the tomatoes from the water and allow them to cool. Peel off the loosened skins and keep the tomatoes aside for making the paste.
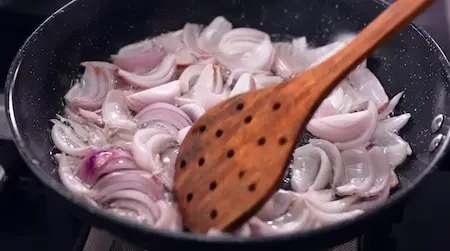
Step 2: Shallow Fry the Onions
Heat oil in a pan and add roughly sliced onions. Fry them on medium heat until they turn soft, lightly golden, and start developing sweetness. The colour should remain light; avoid over-browning. Remove the onions from the pan and let them cool before grinding.
Step 3: Prepare the Base Paste
To make the smooth masala base, add the boiled tomatoes, fried onions, and soaked cashews into a mixer jar. Add a little water to assist grinding. Blend everything into a fine, creamy paste without lumps. This paste forms the foundation of the dhaba-style gravy and gives it body and richness.

Step 4: Temper the Whole Spices
Heat oil in a heavy-bottomed kadhai and add cumin seeds. Allow them to splutter and release their aroma. Add the ginger–garlic–green chilli paste and sauté for a minute until the raw smell disappears. Add the grated khoya next and cook on low heat, allowing it to melt and mix into the oil, lending sweetness and richness to the gravy.

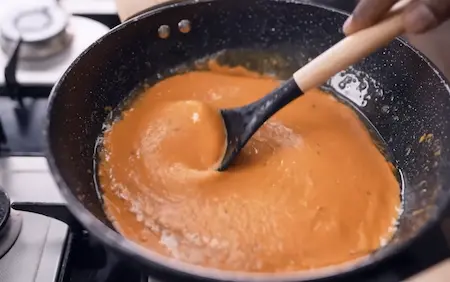
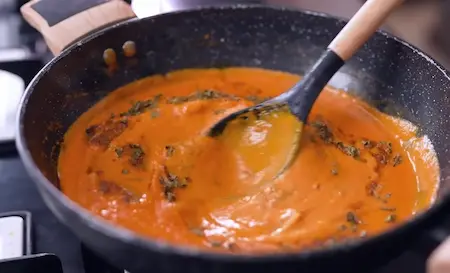
Step 5: Add and Bhuno the Paste
Pour the onion–tomato–cashew paste into the kadhai. Stir well and cook the mixture on medium heat. Continue bhunao—slow roasting—until the moisture reduces and the paste thickens. The colour will deepen and oil will begin to separate from the masala, indicating it is properly cooked. This step is crucial for building a deep dhaba-style flavour.
Step 6: Add the Dry Spices
Add turmeric powder, red chilli powder, kitchen king masala, and hing to the masala. Stir thoroughly and let the spices roast within the mixture for a minute so they release their flavours. Add garam masala and crushed kasoori methi to enhance aroma. Season with salt and add water gradually to adjust the gravy’s consistency, keeping it smooth and medium-thick.
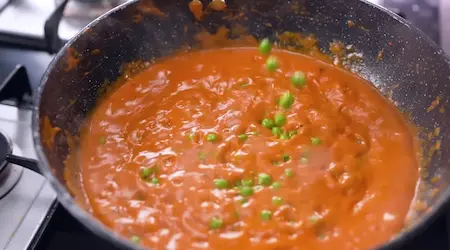
Step 7: Cook the Green Peas
Add the green peas to the gravy and allow them to simmer. If using frozen peas, they will cook quickly; fresh peas may take more time. Let the gravy bubble gently until the peas turn soft and absorb the flavours of the masala.
Step 8: Finish with Paneer and Butter
Finally, add the paneer cubes gently into the gravy and mix lightly, taking care not to break the cubes. Add butter for a classic dhaba-style richness. Simmer the curry for a few minutes until everything is well combined, creamy, and aromatic. The Matar Paneer is now ready to serve hot.

About Dhaba Style Matar Paneer
This Dhaba Style Matar Paneer is all about the right method, not looks. Tomatoes are boiled, onions are shallow fried, and both are ground separately. This simple step gives the gravy its deep dhaba-style taste.
The tadka is basic but strong, made with oil, cumin, and one paste of ginger, garlic, and green chilli. Khoya is lightly roasted to make the gravy rich and thick. Kitchen king masala, raw hing, and kasuri methi add that sharp dhaba punch. Peas are cooked well in the gravy, and paneer is added at the end so it stays soft and juicy.
Cooking Tips for Dhaba Style Matar Paneer
- Always boil tomatoes and fry onions separately for authentic Dhaba Style Matar Paneer.
- Make one paste of ginger, garlic, and green chilli to save time and boost flavour.
- Roast khoya properly with a little water so it does not burn.
- Add hing directly into the gravy, not only in tadka, for that dhaba taste.
- Cook peas in the gravy for at least 5–7 minutes so flavours mix well.
- If making small quantity, do not fry paneer. Add it directly to keep it soft.
Pairing Guide for Dhaba Style Matar Paneer
Dhaba Style Matar Paneer tastes best with paratha, phulka, or tandoori roti. In winters, I really enjoy it with hot tandoori roti and cold weather outside. You can also serve Dhaba Style Matar Paneer with plain rice if you want a simple meal.
For drinks, plain buttermilk or water is more than enough. This dish is rich and comforting, just like dhaba food should be.
Frequently Asked Questions about Dhaba Style Matar Paneer
1. What makes Dhaba Style Matar Paneer different?
Dhaba Style Matar Paneer uses boiled tomatoes, fried onions, khoya, and a strong tadka which gives it a roadside dhaba taste.
2. Can I use frozen peas for Dhaba Style Matar Paneer?
Yes, I myself used packet peas while making Dhaba Style Matar Paneer when fresh peas were not available.
3. Why are onions fried and not boiled?
Fried onions give sweetness and depth which is important for authentic Dhaba Style Matar Paneer.
4. Is frying paneer necessary?
No, frying paneer is only done in bulk cooking. For home-style Dhaba Style Matar Paneer, add paneer directly.
5. Why is khoya added in Dhaba Style Matar Paneer?
Khoya gives richness and body to the gravy, making Dhaba Style Matar Paneer taste fuller.
6. Can hing be added directly to the gravy?
Yes, adding hing directly gives a sharp flavour that suits Dhaba Style Matar Paneer.
7. How long should peas cook in the gravy?
Peas should cook for at least 5–7 minutes so they absorb the flavour of Dhaba Style Matar Paneer.
8. Which masala is used for Dhaba Style Matar Paneer?
Kitchen king masala is used because it gives a unique dhaba-style flavour.
9. Can this recipe be made in advance?
Yes, Dhaba Style Matar Paneer tastes even better after resting for some time.
10. What is the best way to serve Dhaba Style Matar Paneer?
Serve Dhaba Style Matar Paneer hot with paratha, phulka, or tandoori roti for best experience.